How to Polish Wood Furniture at Home: DIY Guide
That dining table you bought five years ago. The sideboard in the hallway. The bedside cabinet that just looks tired now. Wood furniture loses its finish gradually, so gradually you barely notice until one day it just looks dull and worn. The good news is that most wood furniture can be brought back with some basic preparation, the right polish material for wood, and a bit of patience. No professional needed.
How to Polish Wood Furniture at Home: Step by Step
Step 1: Clean and Degrease the Surface
Before anything else, the surface needs to be completely clean. Wipe down the furniture with a slightly damp cloth to remove dust and surface dirt. For grease or old wax build-up, use a mild solvent-based cleaner. Allow the surface to dry fully before moving on. This step is the one most people skip, and it is usually why the finish goes wrong.
Step 2: Sand with the Grain (120 to 240 Grit)
Light sanding is not optional. Start with 120 grit to remove old finish, scratches, or rough patches. Then work up to 240 grit to smooth the surface down evenly. Always sand with the grain, never across it. Wipe away all dust with a clean, dry cloth before the next step. Understanding the wood polishing process starts here. A properly prepared surface is what separates a clean finish from a patchy one.
Step 3: Apply Wood Primer or Sealer
On bare or stripped wood, a primer is essential. British Paints Wood Primer / Sealer seals the grain, prevents uneven absorption, and gives the topcoat something solid to bond to. Apply one thin, even coat and allow it to dry completely. If you skip this stage, the polish will absorb unevenly and the final finish will look blotchy.
Step 4: Apply Polish — Brush or Cloth Method
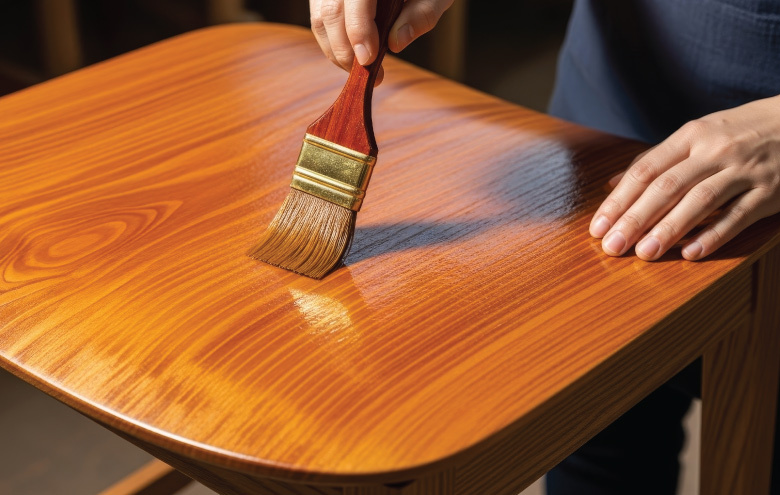
This is the stage most people think of when they picture how to apply wood polish. For PU lacquer or melamine, use a good quality brush and work in long, even strokes with the grain. For wax or oil, a lint-free cloth works better, rubbing the product in using circular motions and then wiping off the excess.
Apply thin coats. A thick coat takes longer to dry, runs more easily, and is harder to sand back between coats. Two or three thin coats will always give a better result than one heavy one.
Step 5: Buff and Final Coat
Once the final coat has dried fully, buff the surface with a clean, soft cloth using gentle circular pressure. This brings up the sheen and removes any minor surface irregularities. For wax finishes, buffing is what creates the shine. For PU and melamine, it smooths and polishes the cured film.
Why Does Wood Furniture Lose Its Shine?
Wood is not maintenance-free. Several everyday factors work against the finish over time.
Sunlight
UV rays break down the top coat on wood surfaces, fading colour and drying out the grain. Furniture near windows takes the worst of it. Over a couple of years, the finish goes from glossy to chalky.
Humidity
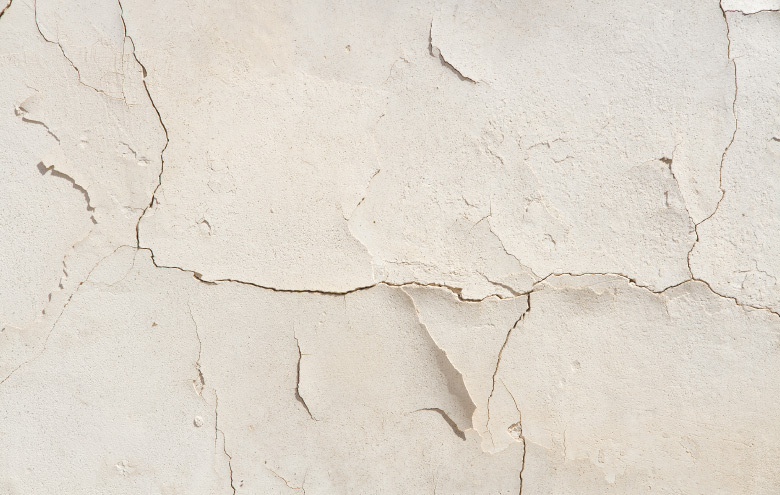
Wood expands and contracts with changes in moisture in the air. In humid climates, this repeated movement stresses the finish and causes it to crack or peel away from the surface.
Wear
Cups, keys, bags, elbows. Daily contact scratches the surface layer and eventually cuts through to bare wood in high-use areas. Once the finish is breached, the wood underneath absorbs moisture and staining far more easily.
Wrong Cleaning Products
Bleach-based cleaners, abrasive sprays, or anything with a strong solvent will strip a wood finish faster than general wear ever would. Water left sitting on wood does the same. Most wood furniture only needs a dry or barely damp cloth for regular cleaning.
Types of Wood Polish: Which One Should You Use?
1. Wax Polish
Wax is a traditional choice that gives a soft, natural sheen rather than a high gloss. It sits on the surface rather than soaking in deeply, so it needs reapplication every few months. It is forgiving to apply and easy to buff out. Best suited to antique furniture or pieces where you want a low-key, muted finish.
2. Oil Finish
Oil penetrates into the wood grain rather than sitting on top. It feeds the wood, brings out the natural colour, and gives a very natural, matte appearance. It offers less surface protection than lacquer or PU but is easy to touch up in small areas without refinishing the whole piece.
3. PU Lacquer
Polyurethane lacquer is one of the most durable finishes available for home use. It dries to a hard film, resists scratches, and handles heat and moisture far better than wax or oil. Available in gloss, semi-gloss, and matte. The right choice for furniture that gets regular use.
4. Melamine
Melamine finish is fast-drying, budget-friendly, and well suited to indoor furniture. It gives a clean, even appearance and is a practical option when you need a good result without a long drying and curing time.
You May Also Like To Read: Duco Paint vs. PU Paint for Wood: Which to Choose for Furniture?
Best Products for DIY Wood Polishing
Choosing the right product saves time and avoids the frustration of redoing the job.
1. Wood Finish (PU) By British Paints
British Paints Wood Finish (PU) is a standout choice for anyone serious about a durable, long-lasting result. It is available in gloss, semi-gloss, and matte, which makes it the most versatile option for all wood furniture types. This is what you want if you are looking for how to shine wooden furniture and keep it that way for years.
For bare or stripped wood, start with British Paints Wood Primer / Sealer before the topcoat. It makes a real difference to how evenly the finish sits.
2. Melamine Wood Finish By British Paints
British Paints Melamine Wood Finish is a fast-dry, practical option for indoor furniture where you need a clean result without a long wait between coats.
3. British Paints Wood Stain
If the wood has faded or you want to refresh the tone, British Paints Wood Stain lets you change the colour while adding a protective layer at the same time. Apply it before your topcoat for a result that looks both fresh and considered.
For anyone working out how to polish wooden furniture at home for the first time, the combination of British Paints Wood Primer followed by two coats of Wood Finish (PU) in your preferred sheen level is the most reliable route to a professional-looking result.
FAQs
Q1: What is the easiest way to polish wood furniture at home?
A. Clean the surface thoroughly, lightly sand with 240 grit paper, and apply a thin coat of PU or wax polish with a brush or cloth. Buff with a soft cloth once dry. Keeping each coat thin is the single most important thing you can do to get a clean, even finish on your first attempt.
Q2: How do I make old wooden furniture look new again?
A. Sand off the old finish down to bare wood, apply a coat of British Paints Wood Primer, then follow with two coats of British Paints Wood Polish or PU Finish. The primer is the step most people miss, and it is what stops the new finish from looking uneven. You will be surprised how much life old furniture has left in it.
Q3: What is the difference between wood wax and wood polish?
A. Wax sits on the surface and gives a soft, natural sheen. It needs topping up regularly but is easy to apply and very forgiving. Polish, particularly PU-based polish, forms a harder film on the surface with a higher gloss and far better resistance to scratching, heat, and moisture. For furniture that gets daily use, polish is the more practical choice.
Q4: How many coats of wood polish should I apply??
A. Two to three thin coats is the standard recommendation. Lightly sand with 240 grit between coats to remove any dust nibs or brush marks before the next application. Rushing the coats or applying them too thickly are the two most common reasons a diy wood polish job ends up looking less than professional.
Q5: Which British Paints product is best for wood furniture?
A. British Paints Wood Finish (PU) is the most versatile option, available in gloss, semi-gloss, and matte to suit all wood types and styles. For outdoor furniture or pieces exposed to moisture, pair it with the Wood Primer for best adhesion and longevity.
Q6: Can I apply wood polish without sanding?
A. Not recommended. Sanding removes old finish, grease, and surface contamination that would otherwise stop the new polish from bonding properly. If you skip this step, the polish may peel, streak, or sit unevenly on the surface. Even a light pass with 240 grit makes a measurable difference to the final result.
Q7: How long does DIY wood polish last?
A. PU-based polish applied correctly lasts three to five years with normal indoor use before a maintenance coat is needed. Wax finishes need refreshing every three to six months. The longevity of any finish depends heavily on how well the surface was prepared before application.